How to configure billing accounts
This procedure describes how to configure billing accounts and scan properties for Output Manager users.
-
Start the Output Manager Console and connect to the server.
To start the console, click .
- Click the Administration application.
- In the Administration options, click Manage Billing Accounts.
-
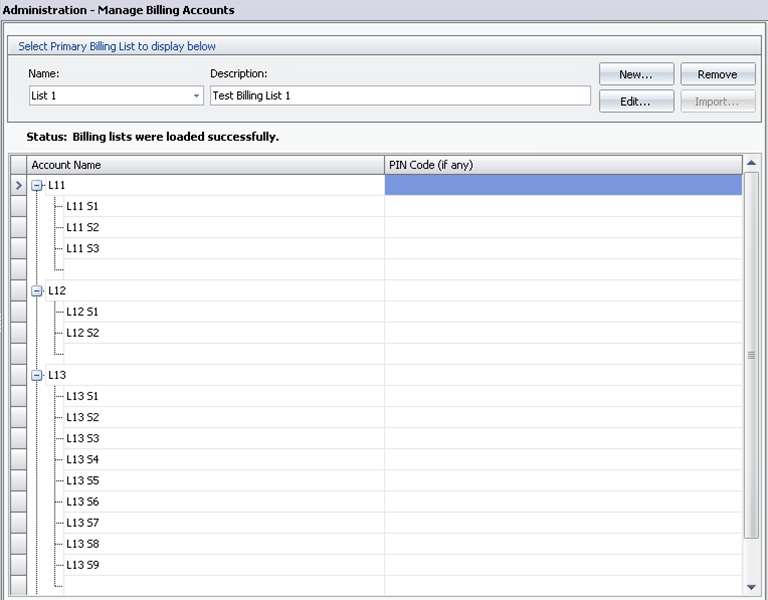
In the Administration - Manage Billing Accounts settings, you can create or edit a billing list and its
billing accounts.

-
You can create secondary billing accounts under the main accounts.

- Click the Administration application again, and in the Administration options, click Manage Users.
-
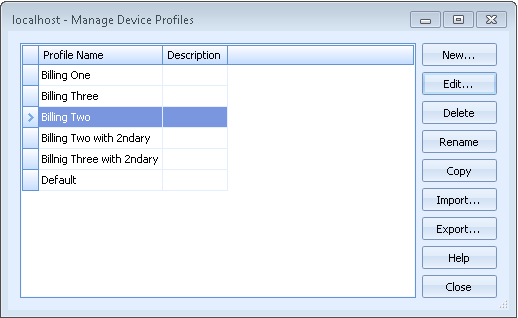
In Administration - Manage Users, select a user and click the Device Profile column
to select or edit an existing profile or to create a new profile.

-
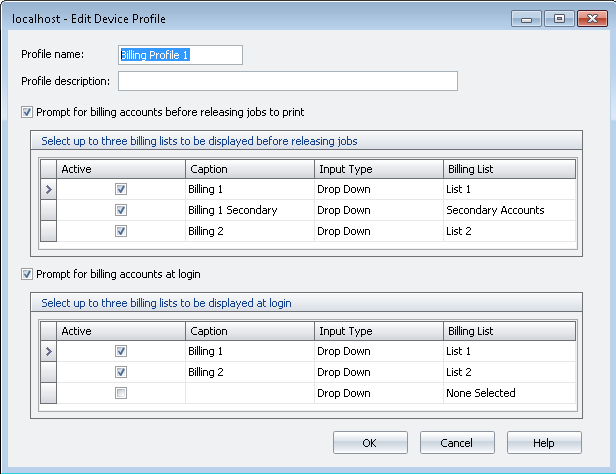
In a profile, you can create a single billing list, two billing lists, or one primary list and one secondary list.

- Click OK.
The following steps associate the billing lists to users:
You do not need to restart the Combined Client for Ricoh. Users see the changes after their
next login.
