Scan a document
The Unified Client for Brother acts as a user-facing experience to handle numerous scanning solutions. The workflow experience for each feature is identical to an end user regardless of the product used to process the scan. The options available to a user depend upon the administrator's setup, the user's settings, and which features are licensed.
In the Unified Client for Brother, only Basic Form is supported. The Send to Folder, Send to Email, Send to SharePoint and Send to One drive custom forms will not be supported. However, you can still configure a basic form to route documents to email, folder, SharePoint and One drive destinations.
Scanning can proceed either by using the Automatic Document Feeder (ADF) on the device, or by scanning directly from the glass of the MFP one sheet at a time. Below is a common scanning process on a Brother device:
- Start the device and log in.
If the device is installed with AutoStore only, no login is required.
If the device is installed with Equitrac and AutoStore, login using your credentials or your card.
See Log in to the Unified Client for Brother for more information. - When the
Launcher Screen appears, select the AutoStore workflow you want
to use.
The form displayed here can be configured from the server side. The Unified Client for Brother only supports Basic Form workflows. For more information on how to configure a Basic Form, refer to Basic Form.
- The
Scan Screen appears:
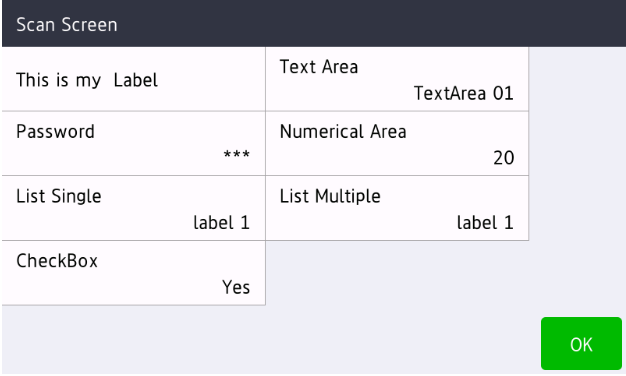
The Scan Screen shows the fields for collecting data about the scan.
These fields can be configured from the form on the server. If there is no field configured, the Scan Screen shows the message: "No fields to display".
For details on the field types available for the Unified Client for Brother, see Field Types.
On this screen:
- Press the Back hard button to return to the Launcher Screen.
- Click OK button to proceed to the next screen.
- The
Scan Actions Screen appears when you click the
OK button on the
Scan Screen.
The Scan Actions Screen offers two options:
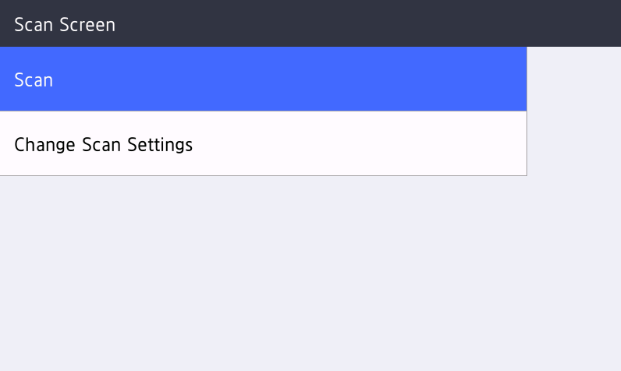
- Change Scan Settings: Click to modify any scan settings
for the scan:
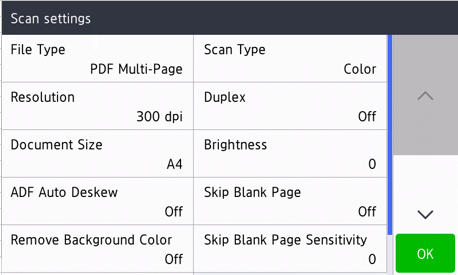
The scan settings are configurable by AutoStore. For more information on configuring scan settings for the Unified Client for Brother, refer to Scan Settings.
After changing the settings, click OK or Back to return to the Scan Actions Screen.
- Scan: Click to start the scan.
As soon as the scan finishes, you are back to the Scan Screen and able to start another scan job with the same field values.
- Change Scan Settings: Click to modify any scan settings
for the scan:
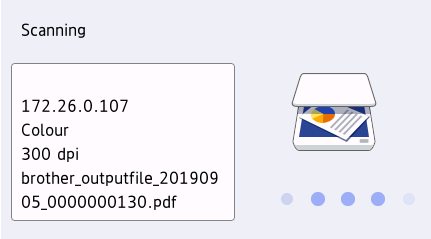
- While a scan is in progress, the device will show the
Device Scan Progress screen:
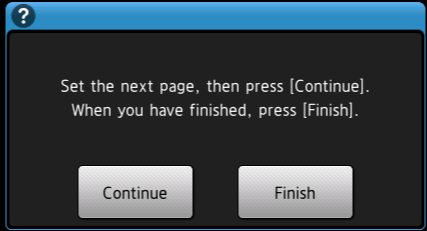
If scanned from the device's glass, after each scan, a confirmation screen is displayed asking if you want to continue or finish:
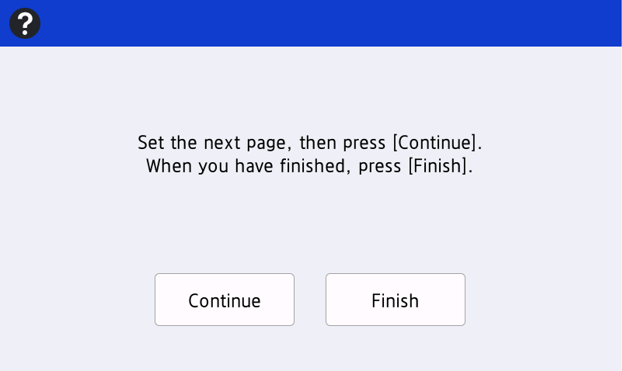
Click Continue to scan more pages or Finish to end the scan job.
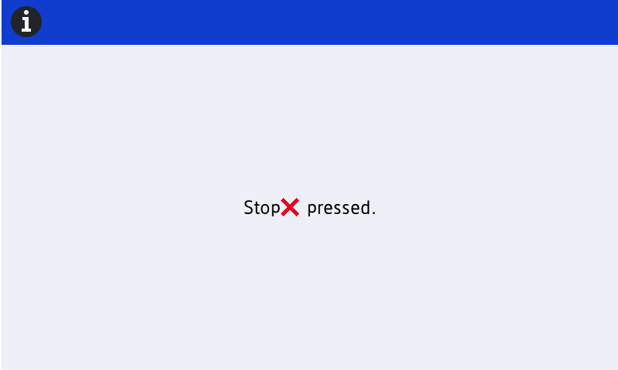
- While the job is being scanned, to cancel it, press the hard
X on the device. Then the device will display an information
screen as below:
-
If the document being scanned is using the ADF, the pages will finish running through the ADF before stopping the process. While the job is being canceled, the Please wait screen is displayed:
After the pages finish running through the ADF, the job is canceled successfully. A screen saying Scan failed will be displayed.
-
If the document is scanned from the device's glass, after the hard X button is pressed, the job is canceled and a screen saying Scan failed will be displayed.
-
- After the scan has finished, in case of failure, the message says: Scan failed. This is due to the platform rejecting the scan operation or the platform started the scan operation and reported a failure. Scan failed message also appears in case you cancel the job as above.
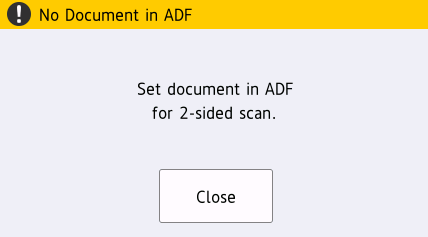
When an error occurs, the device will display an error notification screen with a message summarizing the root of the error. Below are some examples of the error messages that the device might present to the user:
- Empty tray:
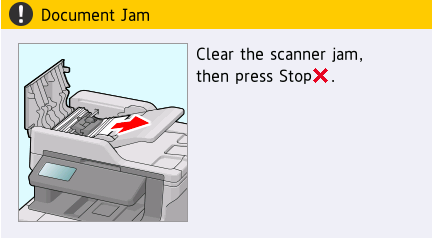
- Paper jam:
Once the error is resolved and the job is done, the device will
display a confirmation screen:
Click Continue to scan more pages or Finish to end the scan job.
When Authentication is ON:
- When the error screen appears, the user is allowed only to click the Close button on the screen or press the X hard button to cancel the current job, which will dismiss the screen and show the Scan failed message.
- If the user does not click the Close button, the device will logout when the logout timer expires.
- During a paper jam, the user is unable to clear the error message until they fix the jam itself. Hard key buttons nor logout timer have any effect during this state. Upon error, the device will respond with an error result for that job. Once the jam is cleared, the job will continue until it's finished without providing an output.
When Authentication is OFF:
- When the error screen appears, the user can only click the Close button or press the hard X button to cancel the current job and show the Scan Failed message.
- If user walks away, the screen will stay there until the next user interaction.
-
If you press the Home button during a scan, device beeps with no message.
-
It is recommended that AutoStore is restarted with a new configuration while no user is logged in. If a user happens to be logged in, in some cases, the user may not receive a notification at the device that their scan failed. The scan will failed when reaching the server and sent to failed scans. An error is shown in the AutoStore error console.