Using the MFP Device
A user session begins when the user logs in with valid credentials through the MFP
device interface. Once their login credentials have been authenticated by CAS, the user can
manage documents with SDR, or access any of the other device features, such as copying,
scanning and faxing. If bypass is enabled, users can access designated MFP functions that
are not protected by security templates.
To start a user session, do the following:
- At the Login screen:
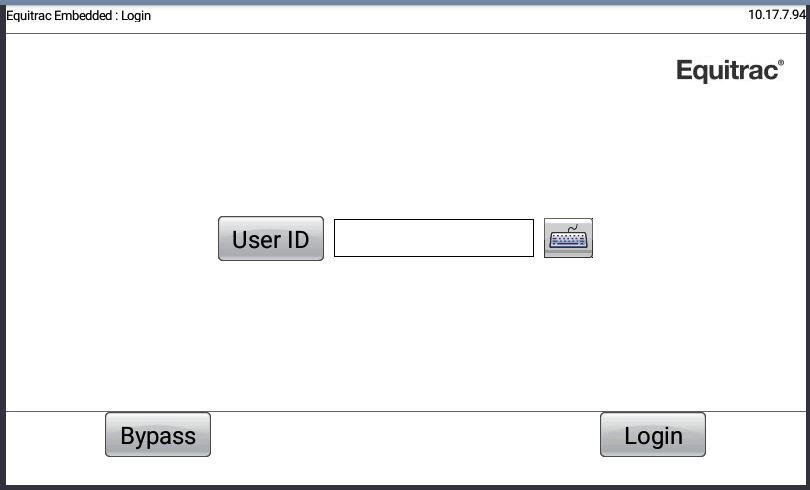
- Swipe your card or manually enter your user credentials using the soft keyboard, or the hard keys on the MFP front panel.
- If enabled, click Bypass to access any MFP functions
granted by the administrator. Note these functions are tracked through Equitrac
Embedded under an "unidentified user". Touch the keyboard icon beside the entry field to bring up the soft keyboard.
- If the device is locked, swipe the front panel screen from right to left. Press the user icon and enter the user ID and password to log in as an administrator.
- Depending upon how User Authentication is configured in Equitrac Web System Manager, you may also need to enter your password. See the Kofax Equitrac Administration Help file to configure authentication options.
- Press Login.
-
If billing code is configured, you might receive a billing code prompt. Otherwise, you are directed to the Home
screen.
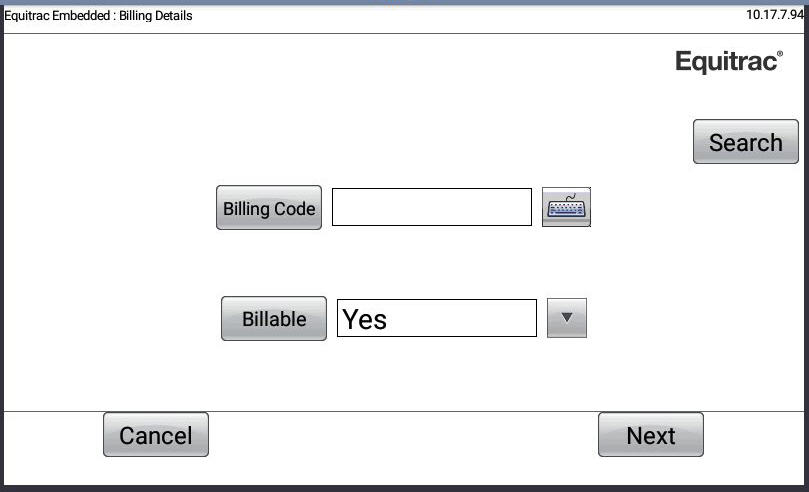
- If billing codes are required, enter the Billing Code in the field provided.
- If the billing code you entered is invalid, or you don’t know the code, touch Search (if configured).
Search is a configurable option, and only appears on the screen when configured through Web System Manager. The Search button is active only when the Billing Code field is selected on the screen. The Search function is only available when embedded device is connected to the Equitrac server.
-
Enter the criteria in the Search for field, then touch
Search.
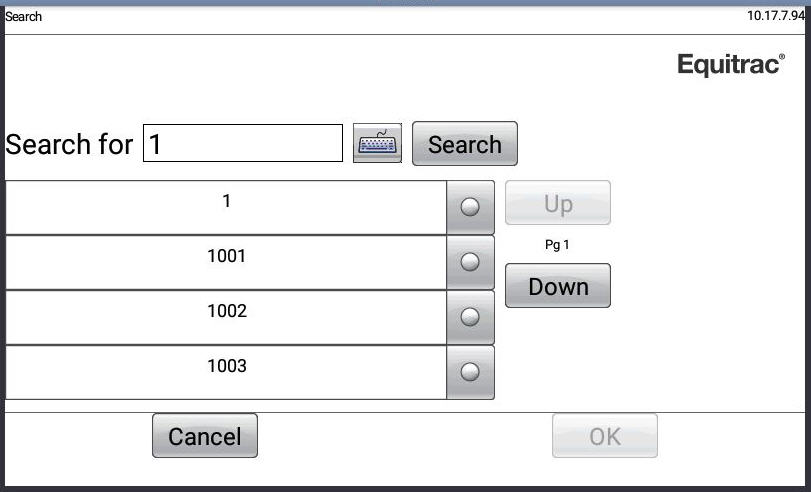
The screen updates with up to the first 100 codes that match your search. Use the Up and Down arrows to browse through billing codes.
The billing code search only looks for codes that start with the characters entered in the Search for field. For example, if you enter "acc" as the search criteria, only the billing codes that start with those letters display in the list. - Select the correct billing code, then touch OK to apply the billing code to the current job and close the Billing Code search screen.
-
Enter the criteria in the Search for field, then touch
Search.
- If configured, select whether the job is Billable or not.
- Touch OK to continue to the selected function.
- Press the Home key to end the user session.
To lock the device, click Bypass. Log in with the user ID and password, and press the lock icon.
This option determines if the transaction is billed to a user, group, or department, or if it is only entered into the system for reporting purposes.
The billing code is validated when you touch OK. If you searched for a code and selected it from the list, it is validated immediately, and the description is displayed beside the code field.
If an account is configured with only one available billing code to charge against, and billing codes are required, then that code is automatically selected and the Billing Code screen
does not appear.