Installation with Equitrac and AutoStore
Create an Administrator
You need to create a new local user with administrator permissions. Complete
the following:
- From a web browser, open the Lexmark MFP device web page: http://device_ip
- Go to .
-
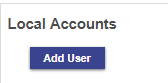
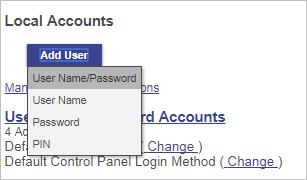
Under Local Accounts, click Add
User.
-
Select User Name/Password as the authentication
method.
-
On the Edit User Name/Password Account screen, enter
the following information for the new user:
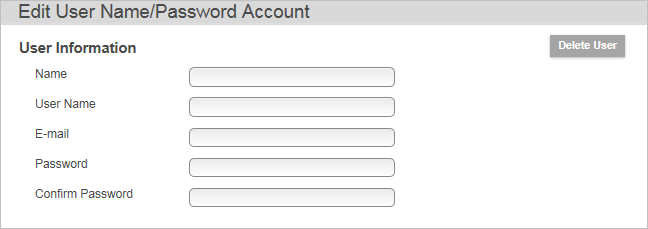
- Name. The full name of the user.
- User Name. This is the display name and can be different from the name.
- Email. The email address associated with the user.
- Password. Enter a password that conforms to your company’s security standards and confirm it.
The new login credentials will be used in Manually install the Equitrac embedded client. - Under Permissions Group, click Add New Group.
-
In the Group Name field, enter the Device
Administrators group name for the new user.
Associate the new administrator with this group.
-
Under Access Controls, select the
Administrative Menus and Device
Management check boxes. Every option must be selected under
these two check boxes.
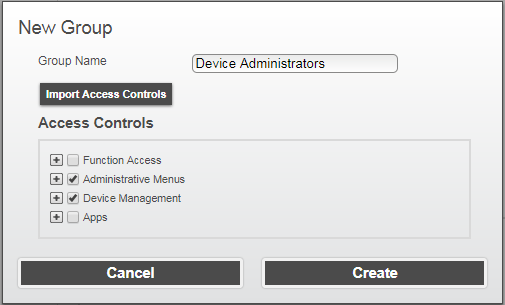
- Click Create.
Enable Permissions for Public Users
You need to enable permissions for the public user. Complete the
following:
- Go to .
-
Under Public, click Manage
Permissions.

-
In the Function Access section, select the
B/W Print and Color Print
check boxes only.

-
If you want to allow printing from Equitrac servers only, do the
following:
- Return to the Settings page and click .
-
In the Restricted Server List field, add the
IP addresses for any servers running Equitrac services to allow
printing.
 After this change, you must now access the device web page from a server on the restricted list.
- Click Save.
Manually Install the Equitrac Embedded Client
Complete the following:
- From a web browser, open the Lexmark MFP device web page again (http://device_ip) and log in as the newly created administrator.
- Click Apps.
-
Click Install an app and browse to the
eqlesbaselib.fls file.
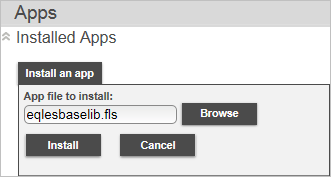
- This eqlesbaselib.fls file must be installed first.
- If you have an eSF 4.x device or lower, install eqlesbaselib.fls by ftp or the DDU tool.
-
Click Install. Repeat step 3 for each remaining .fls file:
eqallocate, eqfollowyou, and eqlogin.
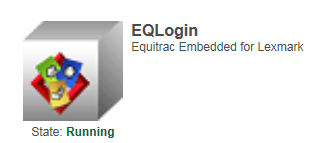
All four apps are displayed on the Apps screen with the State: Running.
Configure the EQLogin App
Complete the following:
-
On the Apps page, click EQLogin. Ensure the
State: Running.
- Click Configure.
-
In the Equitrac Server URL field, enter the Equitrac
server IP or hostname.
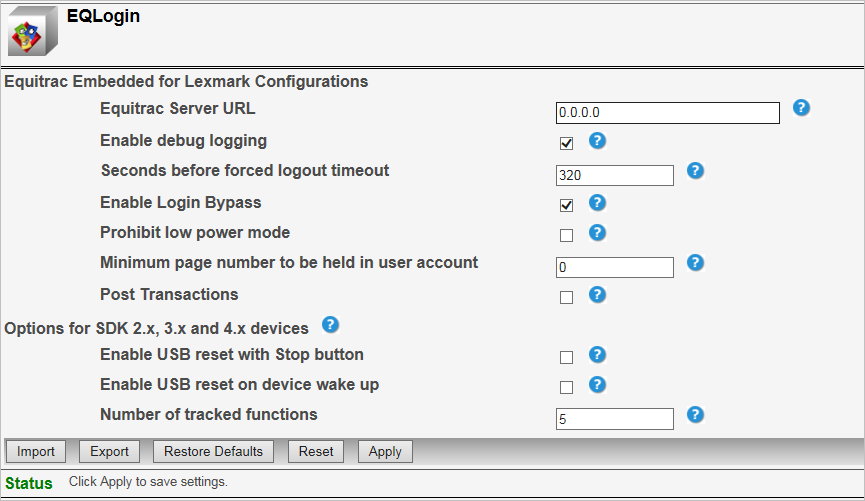
- Update other fields as required.
- Click Apply.
Manually Install the AutoStore Client
Complete the following:
- While you are still logged in as the newly created user, click Apps.
-
Click Install an app and browse to the autostoreclient.fls
file.
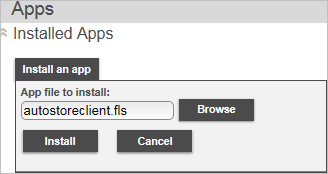
-
Click Install.
The AutoStore Client app is displayed on the Apps screen with the State: Running.
Configure the AutoStore App
Complete the following:
- On the Apps page, click AutoStore Client. Ensure the State: Running.
- Click Configure.
-
In the AutoStore Server URL field, enter the
AutoStore server IP address.
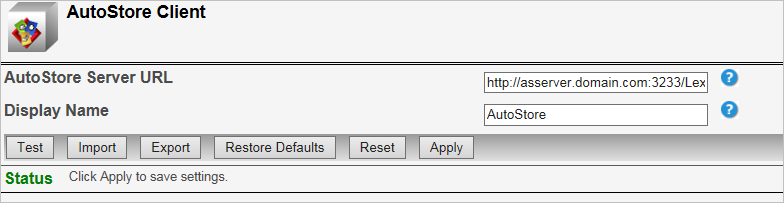
- Update other fields as required.
- Click Apply.
To get the server IP address, you must right-click on the
Lexmark MFP component in the AutoStore Workflow
Process Designer, and select . For detailed instructions, refer to the "How to determine
the host name or IP address of the AutoStore server" topic from the Lexmark
MFP component in the AutoStore Help.
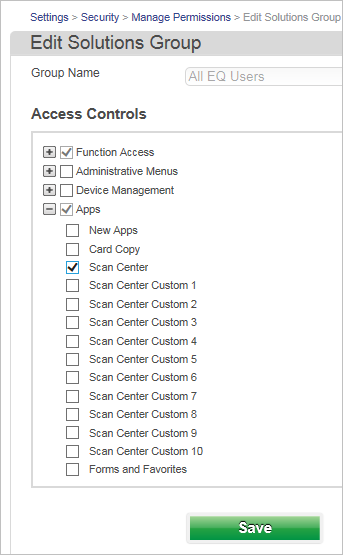
Configure Scan Center Permissions
Complete the following:
- From the left menu, click Security, and then click .
-
Expand Apps and select Scan
Center. Click Save.
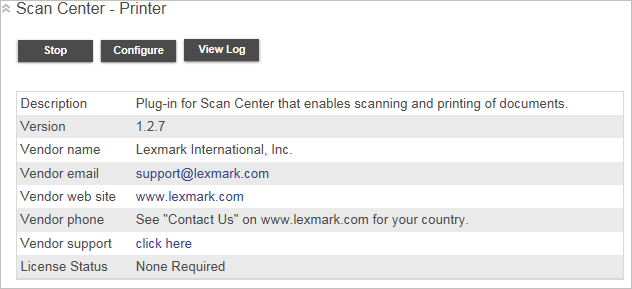
-
Click Installed Apps and click Scan
Center - Printer. Click Stop.
-
Click Installed Apps and click Scan
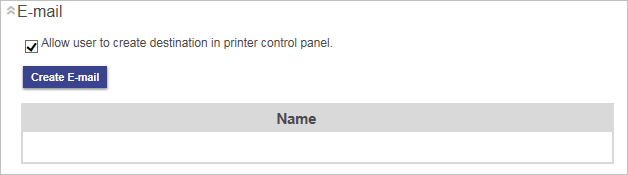
Center. Click Configure.
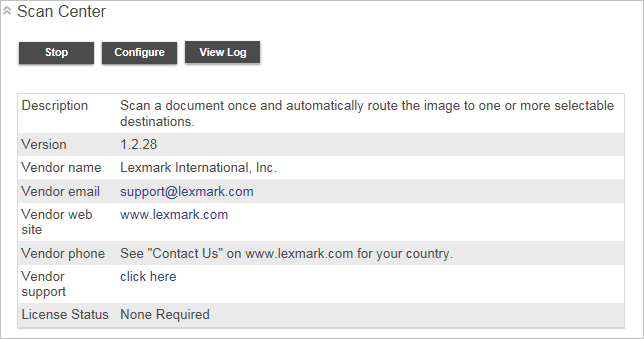
- Clear the Allow user to create destination in printer control panel check box and click Save.
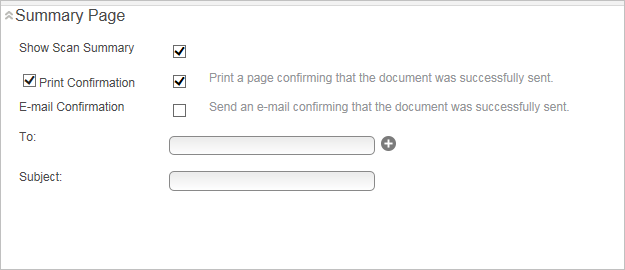
- Click Summary Page.
-
Select the Show Scan Summary, Print
Confirmation, and Print a page confirming that
the document was successfully sent check boxes and click
Save.
- Click Fax.
-
Select the Allow user to create destination in printer control
panel check box and click Save.

- Click Email.
-
Select the Allow user to create destination in printer control
panel check box and click Save.
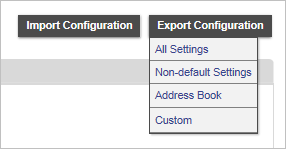
Export settings configuration files
After manually installing the Lexmark embedded client and AutoStore client, you
can export the settings configuration files and use them to deploy the software to
one or more MFP devices. Complete the following:
-
Click Settings, then click . Files are saved automatically in your Downloads
folder.
-
Do one of the following:
- Deploy the software on additional MFP devices using the device web page and the exported configuration files.
- Run the DDU tool to deploy the software and the configuration files.
When using the DDU tool:- Follow the same order from Manually install the Equitrac embedded client when you are deploying the Equitrac .fls files.
- If you are upgrading an MFP device that has already been configured, in the DDU tool interface, ensure that the Secure Devices check box is selected.