How to Manage certificates
- Download and install OpenSSL.
- Add the corresponding executable path for the environment variable.
-
Generate your Certificate Authority (CA):
- Create the directory C:\HpOXPd16Capture\cert.
-
Create a 2048-bit key to be used when creating your CA.
- Navigate to C:\HpOXPd16Capture\cert.
- Enter the command:
openssl genrsa -des3 -out ca.key 2048
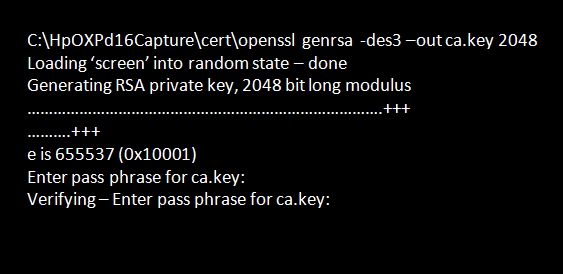
A pass phrase is required for ca.key. This pass phrase will be requested whenever you use the CA certificate, so make sure that you remember it!
This will create a file called ca.key, which will contain the private key for the certificate authority.
-
Create the CA certificate request
- Navigate to C:\HpOXPd16Capture\cert.
- Enter the command:
openssl req -new -x509 -days 4000 -key ca.key -out ca.cer
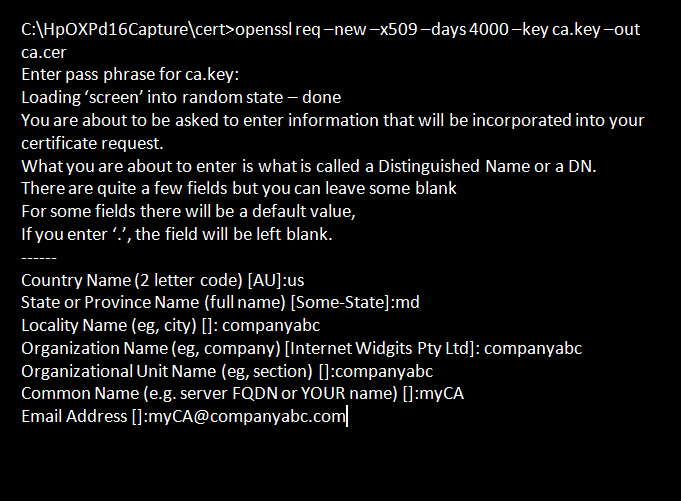
Enter the pass phrase created in Step 3-ii.
The CA certificate will be generated as “ca.cer”.
-
Generate a server certificate.
-
Create a 2048-bit key that will be used when creating the server certificate. Navigate to
C:\HpOXPd16Capture\cert Enter the command: openssl genrsa -des3 -out
server.key 2048.

A pass phrase is required for server.key. This pass phrase will be requested whenever you use this certificate - so make sure you remember it!
This will create a file called “server.key” which will contain the private key for the server.
-
Create the server certificate request. Navigate to C:\HpOXPd16Capture\cert Enter the command:
openssl req -extensions ssl_server -new -key server.key -extensions usr_cert -out
server.csr
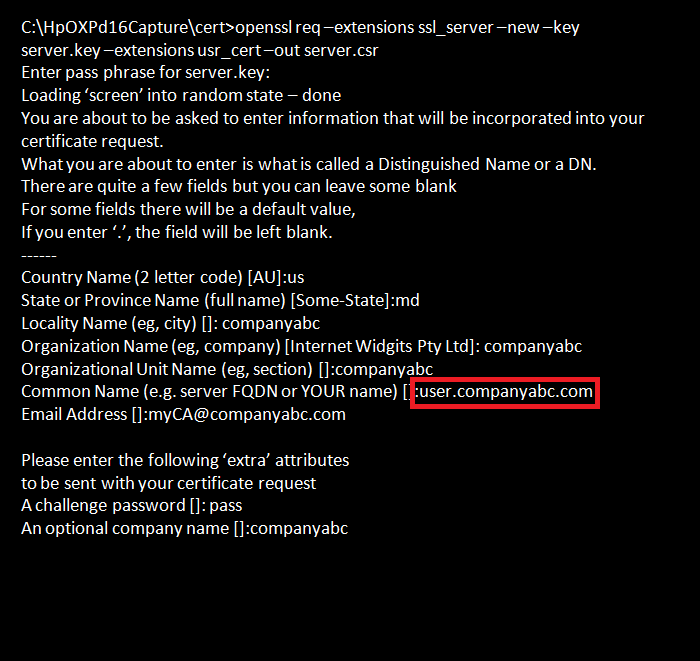
Enter the pass phrase created in Step 4-i.
Important: The Common Name has to match the FQDN (Fully Qualified Domain Name) of the Web server. In this example, the FQDN of the Web server is "user.companyabc.com". A quick way to get this information is by executing the following command:
nslookup webserver_ip_addressThis OpenSSL command will create the server certificate request “server.csr.”
- Create a new text file labeled "ca.srl". Enter any four characters in the file and save it as a file in the directory C:\HpOXPd16Capture\cert.
-
Sign the certificate signing request (csr) with the self-created certificate authority (CA) that was created earlier.
Navigate to C:\HpOXPd16Capture\cert, and enter the command:
openssl x509 -req -startdate -days 365 -in server.csr -CA ca.cer -CAkey ca.key -extensions usr_cert -out server.crt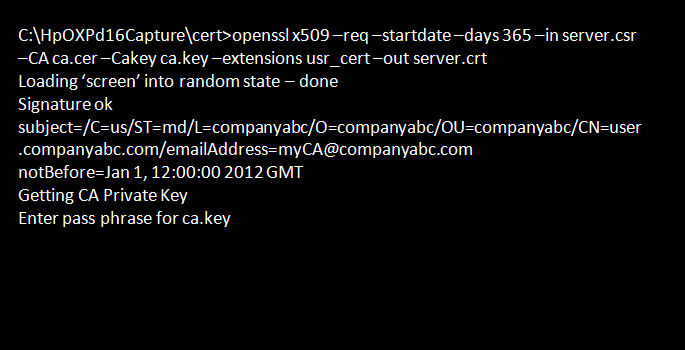
Enter the pass phrase created in Step 3-ii to create the server certificate labeled “server.crt.”
By using the -startdate parameter, you are signing the certificate against the current date/time. Make sure that your environment has the correct date/time and timezone. -
Generate a .PFX file / PKCS#12 certificate.
Navigate to C:\HpOXPd16Capture\cert, and enter the command:
openssl pkcs12 -export -in server.crt -inkey server.key -certfile ca.cer -name "user.companyabc.com" -out serverCert.pfx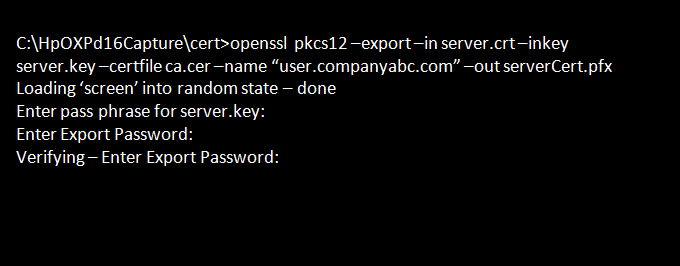
-
You will be prompted enter a pass phrase for “server.key” and an export password. Make sure you enter the pass phrase used for
“ca.cer”.
This creates the serverCert.pfx file.
-
Create a 2048-bit key that will be used when creating the server certificate. Navigate to
C:\HpOXPd16Capture\cert Enter the command: openssl genrsa -des3 -out
server.key 2048.
-
Install the Certificate on the MFP.
Upload the CA certificate labeled “ca.cer” to the MFP using the EWS. Navigate to the Certificate Management page: On Jedi-based devices, it is under the Security tab. On OZ-based devices, it is on the Settings tab.

The certificate can also be installed programmatically using the OXPd 1.6 Certificate Management service or through WJA.
If the server certificate is signed by a chain of CA certificates, the root certificate is the one that will have to be installed on the MFP. -
Install the server certificate in Computer Account personal store, which is imported using Microsoft Management Console.
-
From the Start menu, click Run, and mmc in the text box and click
OK.
This opens the MMC Console window.
- On the Console menu, click Add/Remove Snap-in.
- Click Add to add a snap-in to the current console.
-
Select Certificates in the Snap-in list, click Add.
If you select Certificates on a domain controller you are prompted whether you would like to manage certificates for "My user account", "Service account", or "Computer account". For this scenario, select the "Computer account", and click Finish.
- Click Close.
-
Click OK to close the Add/Remove Snap-in dialog box.
The Certificates directory is now added to the MMC console.
-
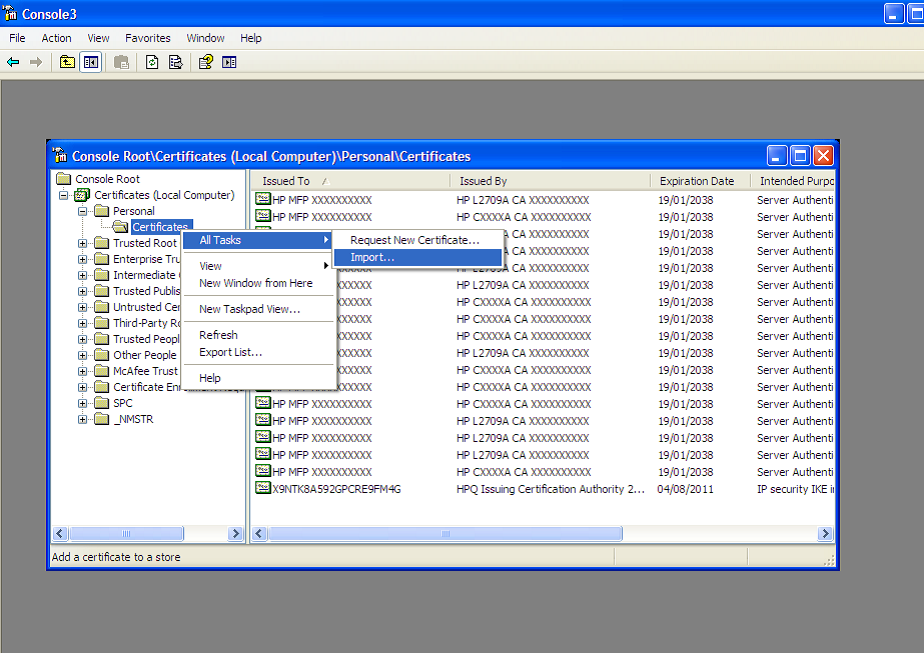
Right-click on the subfolder Certificates (Local Computer)\Personal\Certificates, and then click on the shortcut menu.
-
From the Start menu, click Run, and mmc in the text box and click
OK.
A wizard will show up to let you import the PFX file. Make sure that you enter the correct private key and select the option Automatically select the certificate store based on the type of certificate.