Configure the VersaLink series
You must configure the VersaLink Series devices via their Internet Services
interface.
- Open a Web browser and enter http://<device IP address> in the Address field.
- Log in with your Administrator user ID and password.
- In the left pane, select .
-
In the Walkup Screen section, select ECSP.
 After initializing the MFP, if the billing code prompt is required to display at login, verify that the ECSP option is selected for the Walkup Screen section.
 - Select .
-
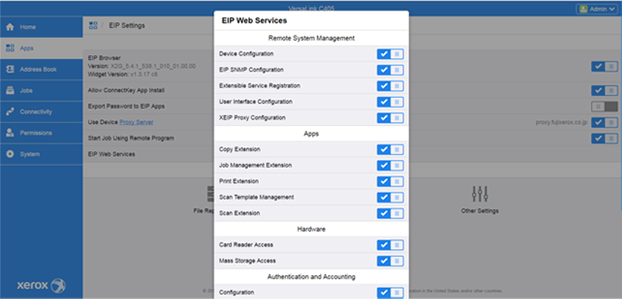
Click and verify that all web services are turned on. Click
OK.
- In the left pane, select .
-
Turn on and click OK.
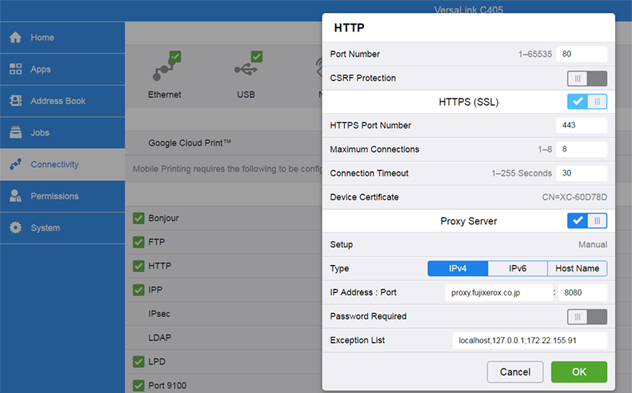 If you have a proxy specified, include the Equitrac server IP address in the Exception List.
 - In the left pane, select .
-
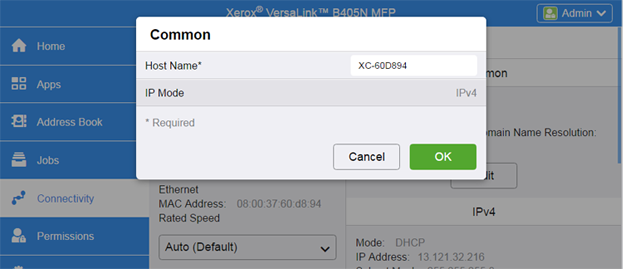
Disable the IPV6 by switching IP Mode to IPV4 and click .
- In the left pane, select .
-
Select .

-
Click under Tracking Information.
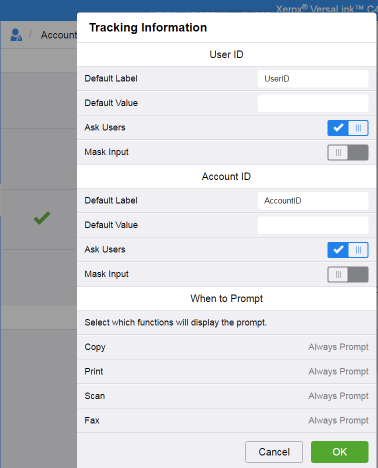
- Turn on Ask Users under the User ID and Account ID sections and click .
-
Turn off Information Verification and click .
For VersaLink C405 MFPs, Information Verification must be turned on before initialization. If the MFP has been initialized, verify that Information Verification is turned off.
- In the left pane, select .
- Select Convenience and enter a temporary IP address. The correct IP address is automatically filled out when you add the device through System Manager.
- In the Alternate Login section, set Allow users to log in without their card to .
-
In the Accounting Codes section, select Get codes
automatically from server. Click .

- To use a proximity or magnetic strip card reader for login, you must install and
enable the card reader plug-in:
- Go to http://www.support.xerox.com.
- Find your device and go to the section.
- Download the USB Card Reader Plug-in and follow the installation instructions included in the download package.
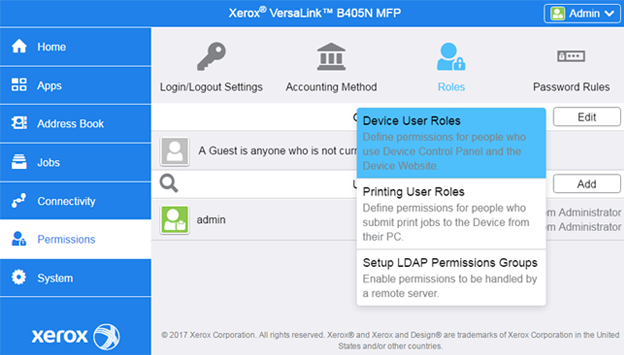
- In the left pane, select .
-
In the Guest Access section, click and select .
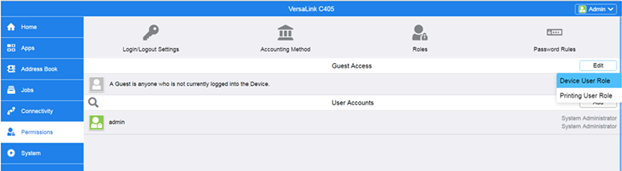
-
Select and click .
-
Click and select .
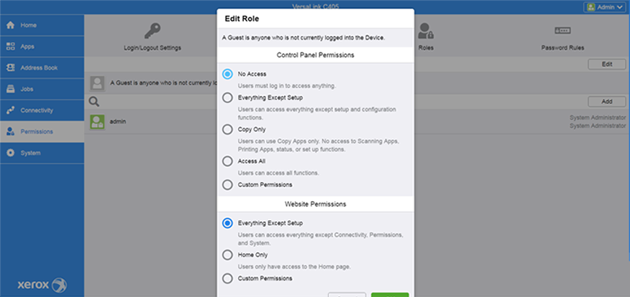
- You can allow any of the predefined permissions, or you can set up Custom
Permissions.
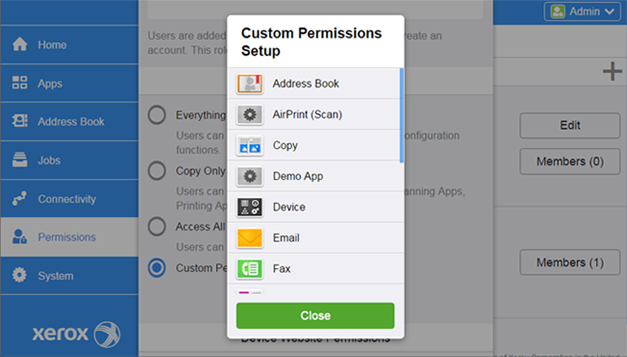 When setting up custom permissions, check to make sure each application has the correct permissions by clicking on its name or icon and selecting if you want to allow the user to use the application, or if the application should be hidden.
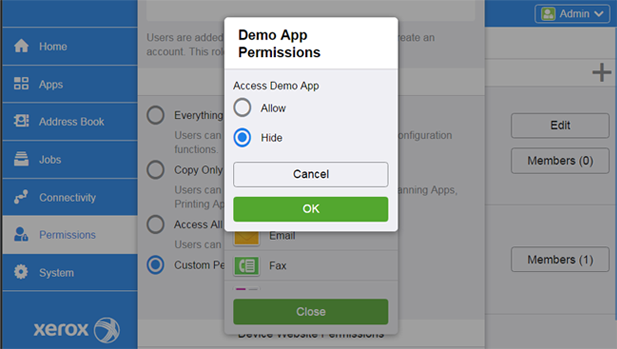 Native applications might have more specific permission settings available. For example, in the Copy application, color copying can be denied.
 - Reboot the device for the changes to take effect.