Set up a Marker grid
Use this procedure to create a Marker grid.
-
On the
Component toolbar, click
Marker Grid and drag it
onto the View area.
The Action wizard window appears.
-
Select the groups that the marker listens to, and click
OK.
The Marker Grid with all existing markers appears.
-
To edit markers, click
Edit from the options bar
or double-click the component.
-
Highlight the required marker and double-click. Markers are
created and edited in the Preview/Viewer.
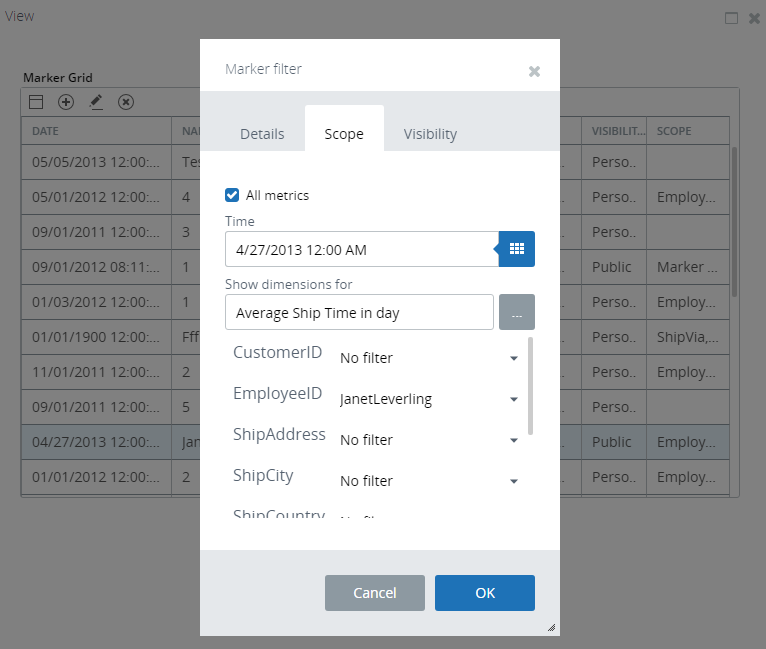
The "Marker filter" window appears.
- Use the Details tab to set the general marker parameters.
-
Use the
Scope tab to set the
metric filters for the markers.
Select All metrics to use this marker for all metrics. If you clear this check box, the marker is used only for the dimensions selected under the Show dimensions for parameter.
- Use the Visibility tab to define who can see the marker. If you select My roles, you need to select a role from the list.
-
Highlight the required marker and double-click. Markers are
created and edited in the Preview/Viewer.
-
To add a new marker, click the Plus sign in the Marker Grid
toolbar.
The "Marker filter" window appears.
- Make the changes as required and click OK.