Prepare Insight documents
Use this procedure to set up Insight documents.
- In Admin Console, create a new project called Northwind with the Northwind database as a data source.
- In Studio, import the Insight Geo Data into your project. Verify that you use the geo data package with US states, cities, and Zip codes.
-
To use pins, create a new translation table called Zip Code
Translation Table based on
dbo.GEODATA_ZIPCODES.
- Map Code to Item Id.
- Map Name to Name.
- Drag the Longitude field to the Record side.
- Drag the Latitude field to the Record side.
- Click Load data and select the Beginning of times as the "From date" and Current time as the "To date."
-
Save
 the changes.
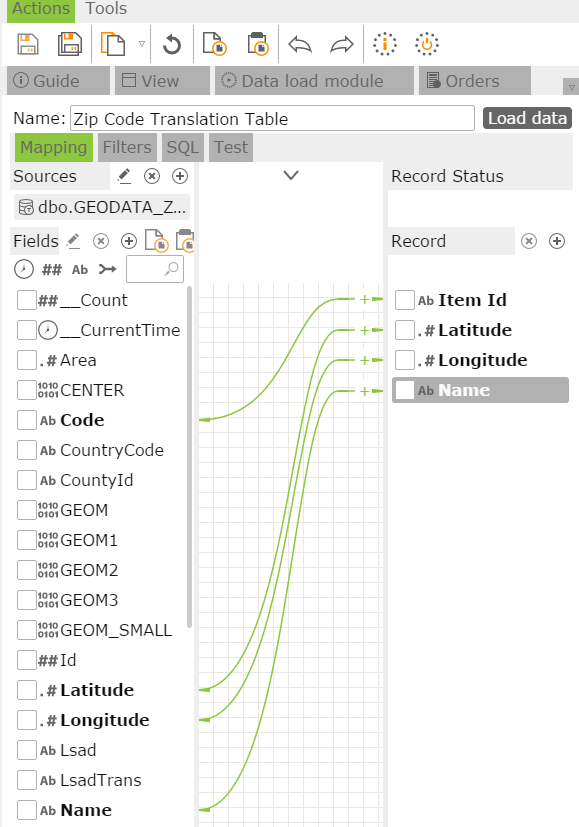
This translation tables maps a US ZIP code to a coordinate (latitude and longitude) to be used in the maps to display pins.
- Create a new record called Orders based on dbo.Orders and join it with dbo.Order Details.
-
Select the record and the following:
-
OrderDate
-
Quantity
-
ShipCity
-
ShipCountry
-
ShipPostalCode
-
UnitPrice
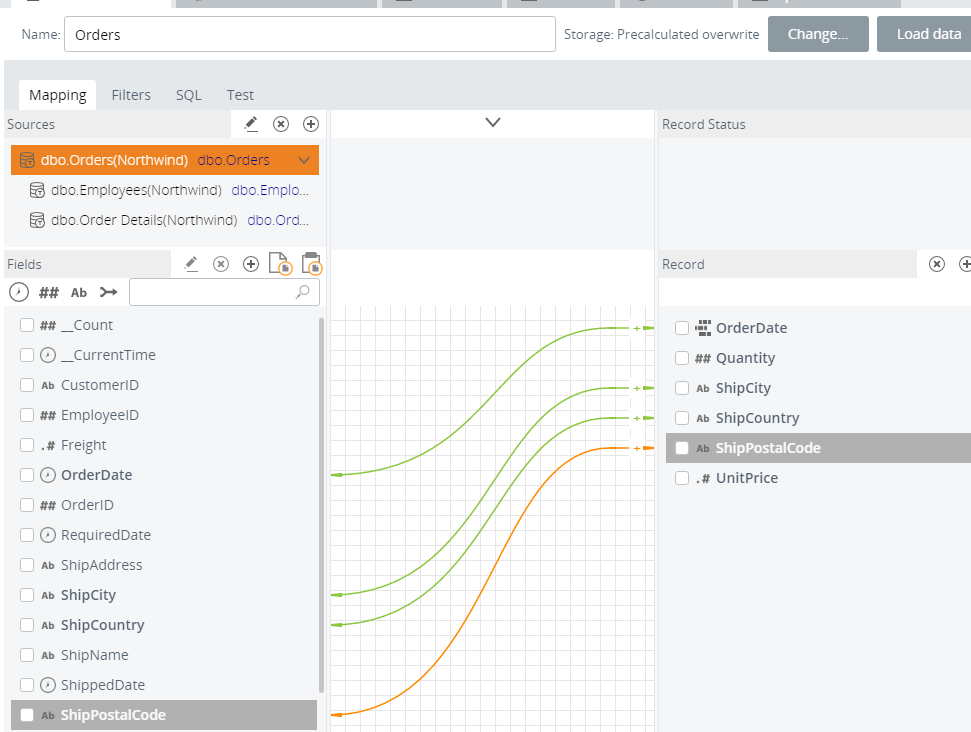
- Next, select the ShipPostalCode field.
- To assign this record field to the translation table, on the Property Panel, select Zip Code Translation Table.
- Change the Storage type to Store, using Overwrite Logic.
- Click Load data and select the Beginning of times as the "From date" and Current time as the "To date."
-
-
Create a standard revenue metric called Revenue.
Use the Orders record as the metric source and define the following options:
- Date / Time field: OrderDate.
- Revenue derived field (Float). This is the Quantity multiplied by the UnitPrice value. Assign it as the Value via the Property Panel (the Purpose property).
- Dimensions: assign ShipCity, ShipCountry, and ShipPostalCode as dimensions.
- Change the Storage type to Store, using Overwrite Logic.
- Click Load data and select the Beginning of times as the "From date" and Current time as the "To date."
-
Save
the changes.