Design View layouts for mobile dashboards
Follow the procedure below to create a View to use on mobile devices or on any device with a non-standard window size. You need to resize and position components in a distinguishable way on the View, add a mobile menu, and mobile filters.
Also, you can open any existing View and modify it accordingly.
-
In Studio, create a new View.
- On the Documents Tree, right-click Views and select New View.
- Assign a unique, descriptive name to the View and click OK.
- Add required components (charts, grids) to the canvas. Configure them as usual.
-
In the upper right corner of the canvas, click
Change View Layout
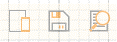 .
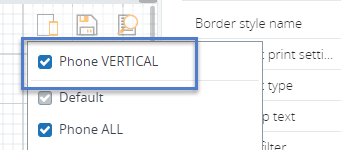
The list of all existing View layouts appears with the check boxes. Select all the check boxes as applicable.
.
The list of all existing View layouts appears with the check boxes. Select all the check boxes as applicable. -
To edit a particular layout, select it by clicking the name. The
View reloads accordingly and you can start editing it. If you click
Change View Layout again,
currently selected layout appears on top of the list separated by a horizontal
line.
-
Add a mobile menu. Drag a menu item
 from the
View toolbar to the
canvas.
from the
View toolbar to the
canvas.
- Create a menu as usual.
- In the Display tab of the wizard, under Menu Style, select Mobile Menu.
-
Specify all configuration setting as required (title, dimensions,
icon) and click
OK. Select
Use slide effect to open
the menu smoothly.
Note The following sample screens show how a mobile menu may look like with the Menu style expansion. With the first level menu:
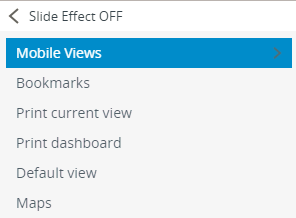
The following sample screens show how a mobile menu may look like with the Menu style expansion. With the first level menu:
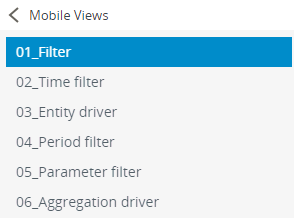
With the second level menu:
-
Create mobile filters. To launch filters from the dashboard, you
can use the following actionable components: button, image, or label.
-
Add a
filter to the View. For group filters in one filter panel,
set incoming action for the filter and use the same group as a filter group for
the actionable component later.
Important Some of the filters, for example, time window, aggregation driver, and more, have no incoming action wizard. In this case, in the Property Panel, find Filter groups and set the group. Click OK.
- Add a component to launch the filter panel, for example, a button. A filter panel shows all filters that listen to its group.
-
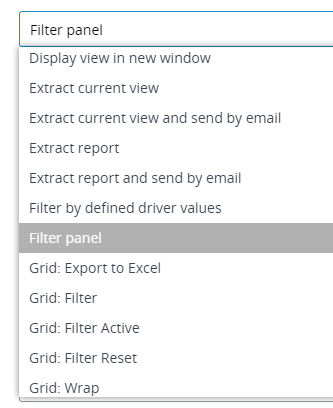
In the
Action wizard for the
button, select
Filter panel.
- For the group, select the same group that is set as an incoming action group for the filter created above. Hide the filter from the View: in the Property Panel, find Visible, and remove the selection.
-
Add a
filter to the View. For group filters in one filter panel,
set incoming action for the filter and use the same group as a filter group for
the actionable component later.
-
Save
 the View.
-
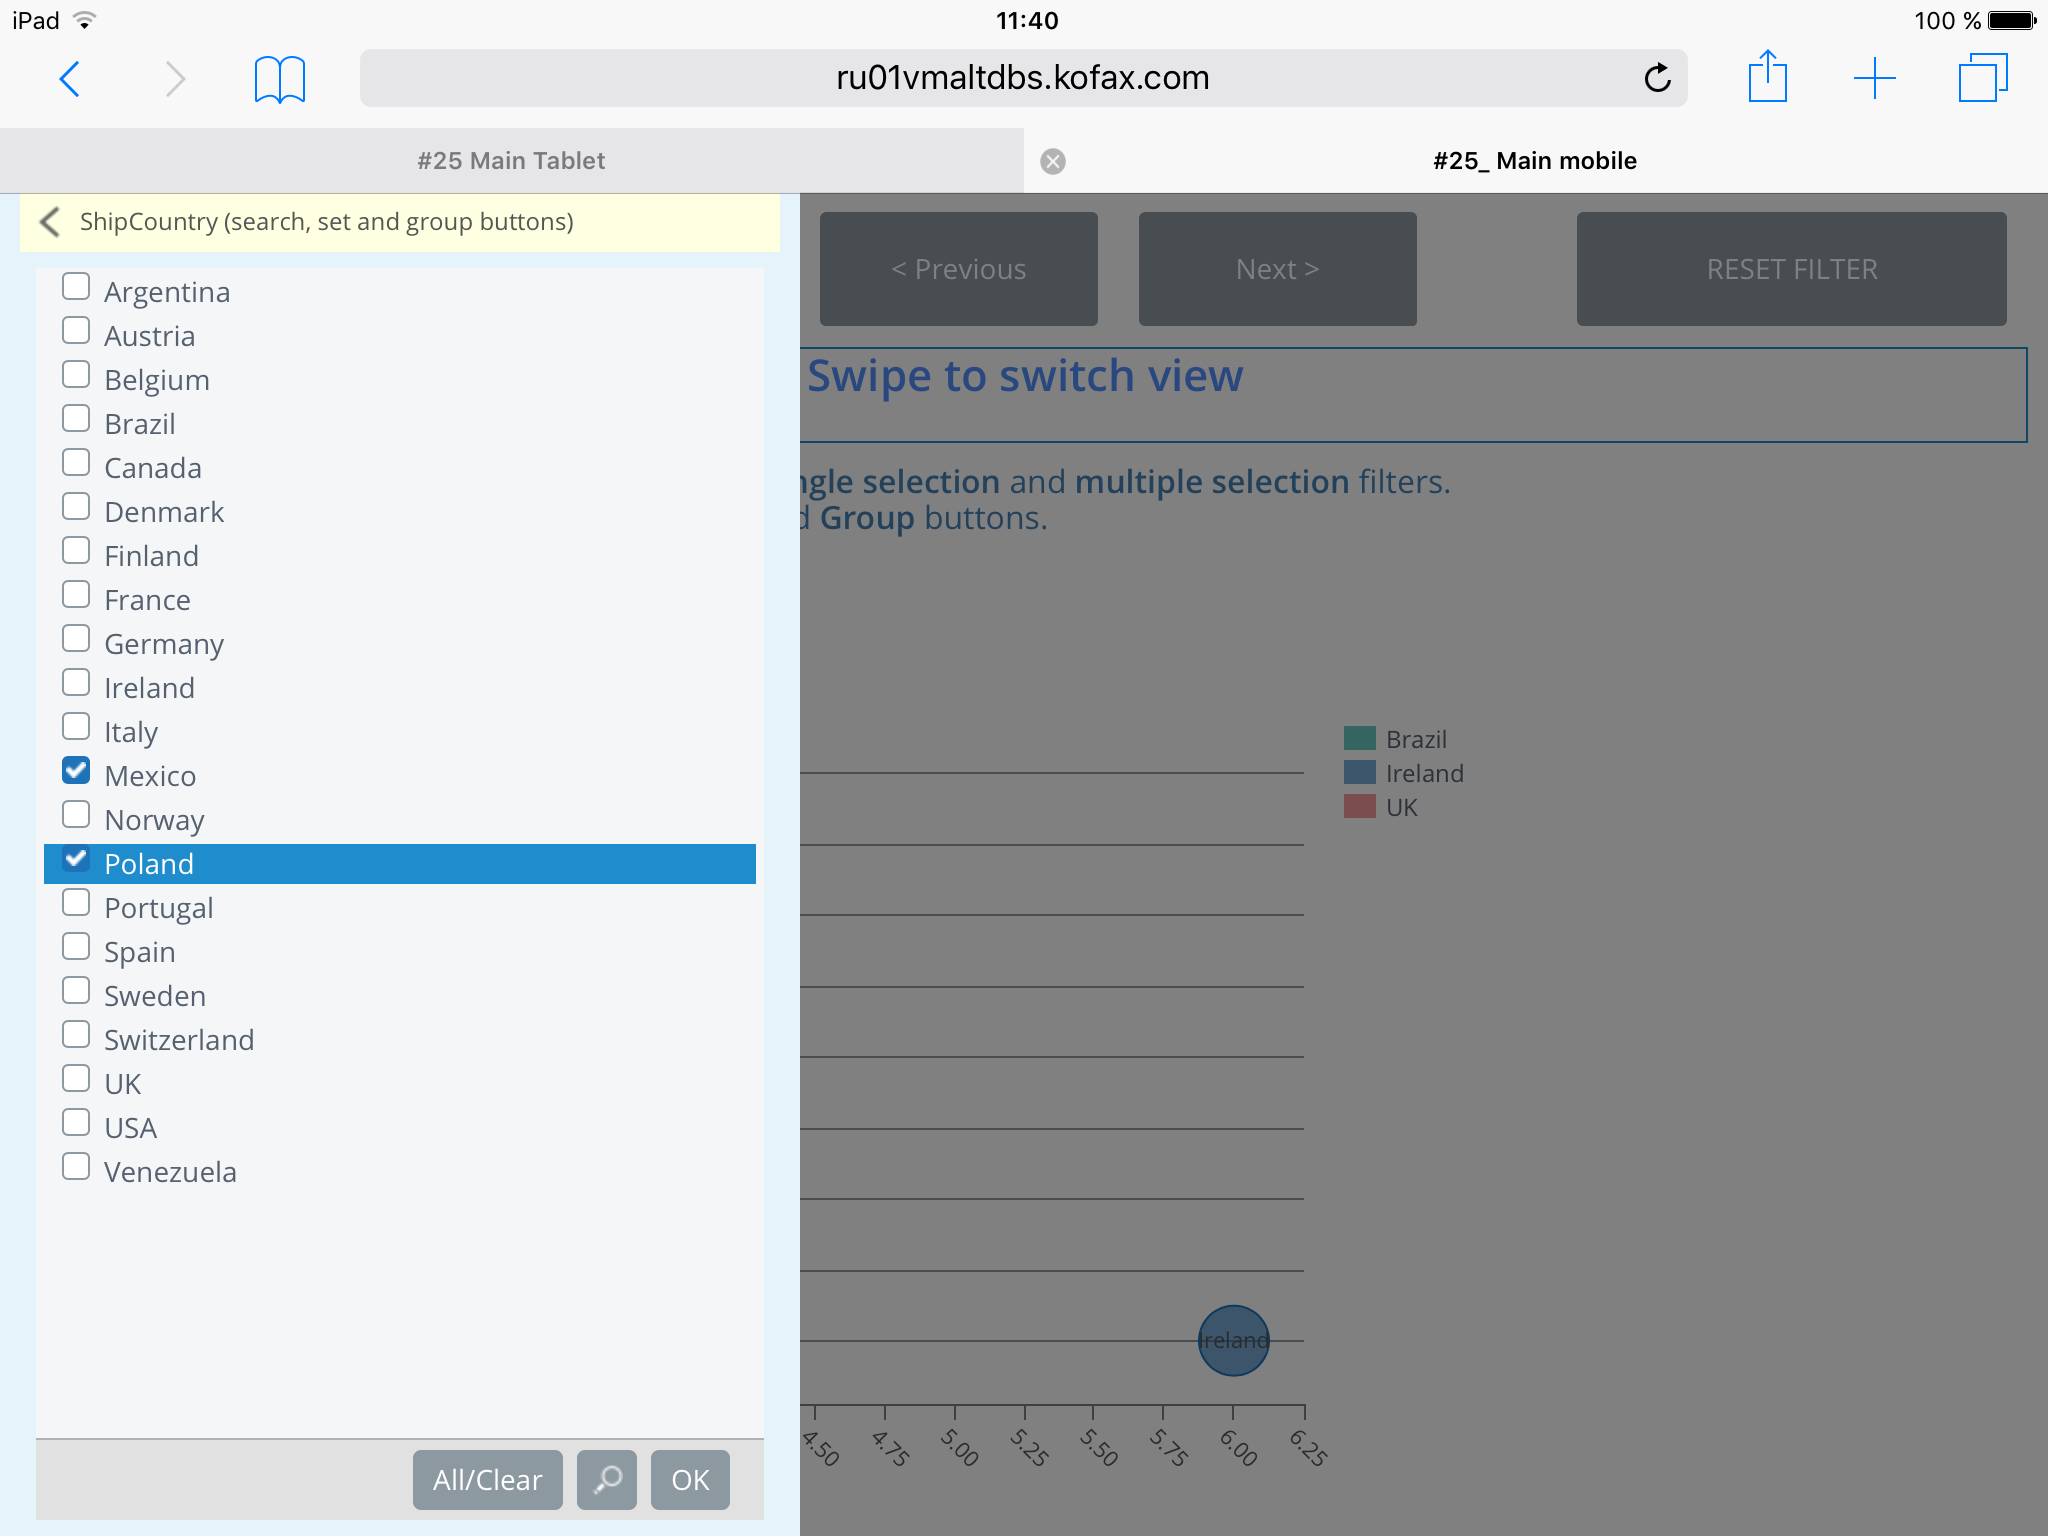
Open the View in the Prevew/Viewer on a mobile device. You can
click the button to launch filters.
Basic concepts
When you work with layouts in Studio, the changes either apply only to a particular View layout or to multiple layouts.
-
When you work on a View and selected a layout
, you start editing a
particular View layout. When you save the changes, they are applied
individually only for the particular layout. For each layout, you can adjust
the following.
- Move and resize components.
- Change and set up anchors.
- Hide some component. To hide a component for a given layout, highlight the component, find Visible in the Property Panel, and clear the check box.
- Change View size.
-
However, some of the changes apply to all layouts.
- Adding a new component. To hide any component, use the Visible check box in the Property Panel.
- Changing data for a component: all changes in the wizards and all textual changes.
-
Appearance properties may be changed both individually for a
layout or for all layouts. To apply changes to all layouts, in the
Property Panel,
clickAll appearances.
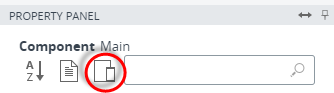
To apply the changes only to a particular layout, click this icon again.