Validation form design and layout anchoring
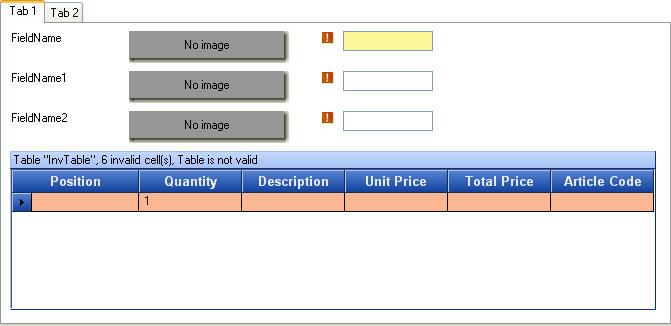
The following examples show the effect of different layout anchors within a customized validation form. The sample validation form is shown with some fields, labels, mini viewers, and a table. You can also apply layout anchors to fields in group boxes. In this situation, you can use top, left, and right anchors, but not a bottom anchor.
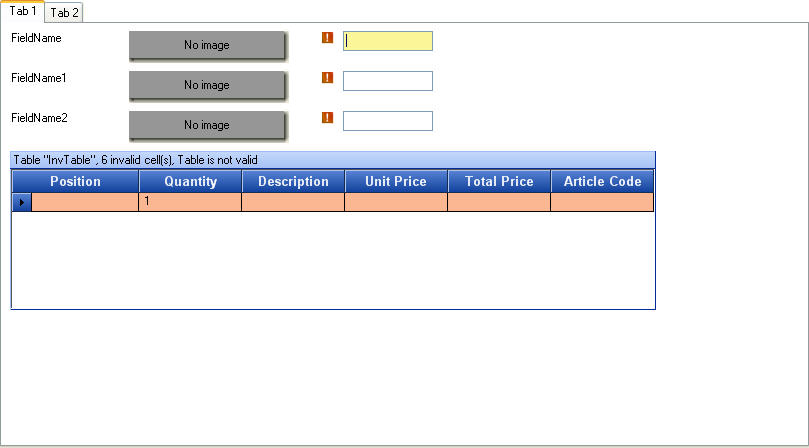
For example, if you resize the form by dragging it to make it bigger, the form grows bigger and the validation form elements do not change. The distance from the right edge of the elements and the bottom edge of the table to the edge of the form is now larger.
If foldering is enabled, the validation form folder pane and the elements placed on the pane have a fixed size, and you cannot set anchoring. The pane is shown for a validation form above the document fields and may significantly change the size of the complete form.
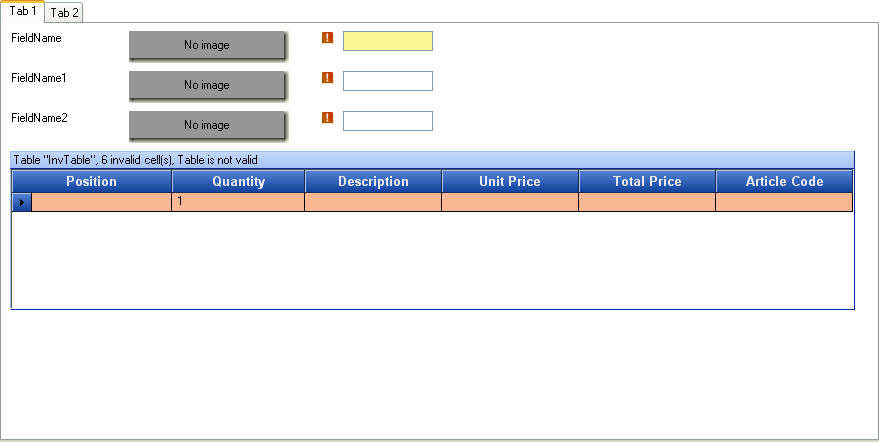
If you anchor the table to the top, left, and right sides of the form and then increase the size of the form, the table grows so that it is still anchored to the top, left, and right sides of the form. The fields, field labels and mini viewers located above the table are anchored to the top and left, so they are not resized.
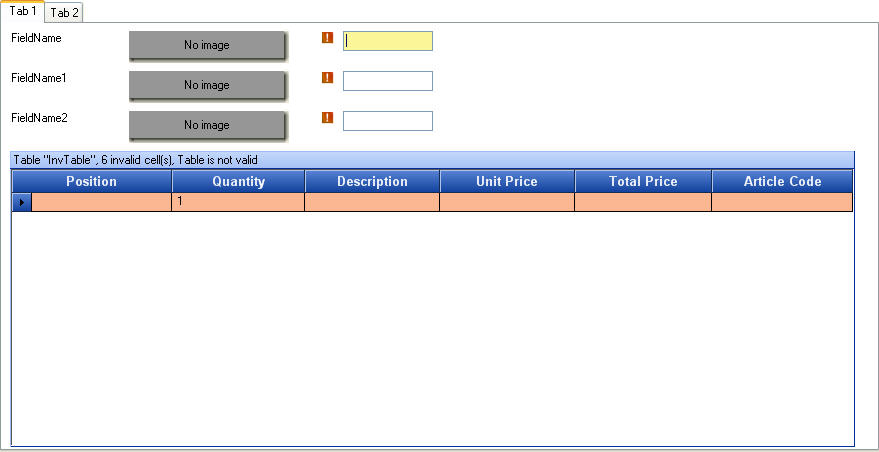
If you resize the form for a table that is anchored to the bottom, top, left, and right sides of the form, the size of the table is always set to maximum. Again, the fields, their labels, and mini viewers located above the table are bot resized.


