Build and Maintain Kapplets
This section provides information about Creating Workspaces, Creating Templates, Creating Kapplets, and Running Kapplets.
Create and Edit Workspaces
A Workspace is a logical group that combines Kapplets and Templates in one place by meaning and by department needs.
Create Workspaces
Workspaces can be created by administrators and global administrators.
To create a workspace, navigate to the Workspaces tab on the side menu and perform the following steps:
-
Click the
 Create new workspace button on the toolbar.
-
In the Create new workspace window, configure the following.
-
Name: Type the workspace name.
-
Description: Type a short description to add more information about the workspace.
-
Icon: Add an icon to make the workspace unique and easy to distinguish. Either select an image from the Gallery or upload a new one. Tag the uploaded image to make it easy to find among other images.
Important The image Gallery supports only .png and .jpeg files.
-
-
Click Save in the lower right corner of the window for the changes to take effect.
A user can see the list of the available workspaces on the Settings pane of the visible tabs. For example, users with local privileges can see their list of workspaces on the Settings pane of the Kapplets tab.
Note that Templates and Kapplets can be added to a workspace only on the Templates and Kapplets tabs.
Edit Workspaces
To edit a workspace, navigate to the Workspaces tab on the side menu and click on the workspace name in the table.
Create and Edit Templates
Every Kapplet is based on a template, which functions as a main base object for the Kapplet. A Kapplet can be considered as a "copy" of its template. When a Template is changed, the Kapplet remains unchanged.
Create Templates
Templates can be created by developers, administrators, and global administrators and developers.
To create a template, navigate to the Templates tab on the side menu and perform the following:
-
Click the
Add button on the toolbar to open the
General step window.
-
On the General step window, configure the following information.
-
Name: Type the Template name.
-
Workspace: Select the workspace from the drop-down list of available workspaces.
-
Description: Type a short description to add more information about the template.
-
Icon: Add an icon to make the template unique and easy to distinguish. By default the icon is inherited from the workspace. To change the icon, either select an image from the Gallery or upload a new one. Tag the uploaded image to make it easy to find among the other images.
Important The image Gallery supports only .png and .jpeg files.
-
-
Click Next in the lower right corner of the window to proceed to the next step.
-
On the Robots step window, add robots to the template.
The selected robots are shown on the Selected robots pane on the left of the window. To open the pane, click the
 Selected robots pane button on the toolbar. The number of selected robots
is reflected on the button. On the
Selected robots pane, use the
Run sequentially button to define the robots execution order.
Selected robots pane button on the toolbar. The number of selected robots
is reflected on the button. On the
Selected robots pane, use the
Run sequentially button to define the robots execution order.
You can also filter robots by a Management Console project on the Settings pane.
Click Next to proceed to the next step.
-
On the Input step window, configure input parameters for the selected robots.
Note The Input step is added to the procedure if one of the selected robots contains input parameters.-
Click a robot to see its variables (variable types).
-
On the window with robot variables, click a variable to configure its attributes.
-
All of the attributes are listed on the window next to the variables window.
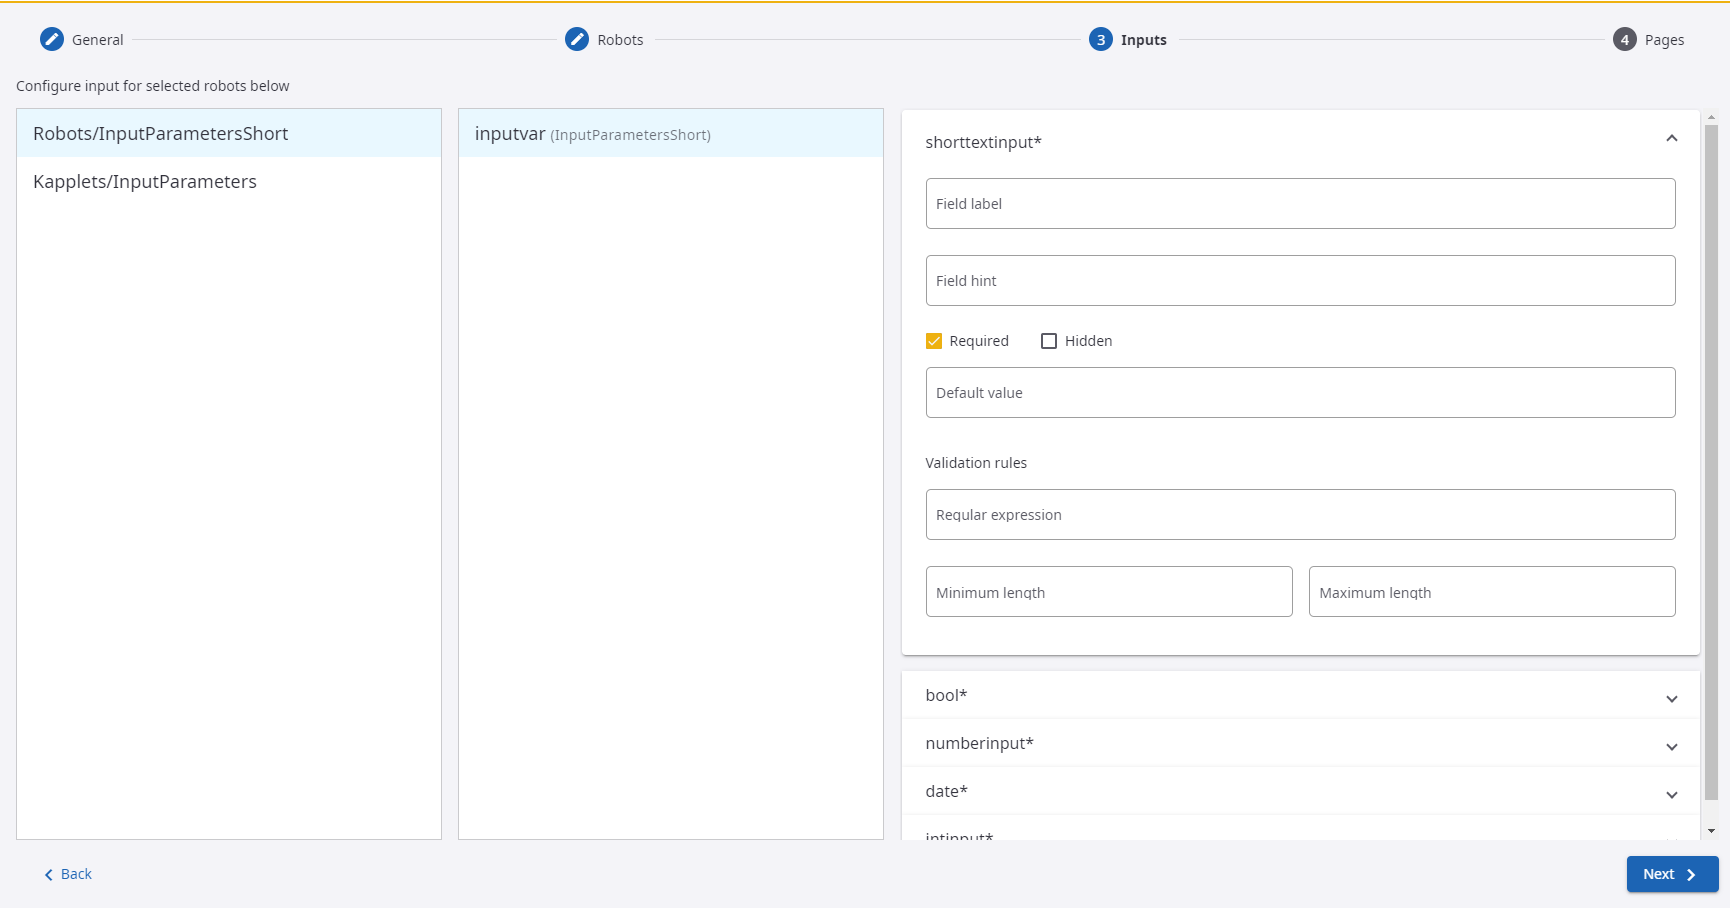
On the attribute pane, fill in the Field label and Field hint for display on the Start Page.
Use the Required and Hidden check boxes to configure how the fields are reflected on the Start Page.
Configure attribute individual parameters. The set of parameters depends on each individual attribute and may vary.
Click Next to proceed to the next step.
-
-
The Pages step window includes the following configuration.
-
On the Start Page, edit the page title and type a description for the page in the Page text field. Drag an item on the Fields order list to change its order.
-
On the Status page, edit the page title.
- To see the execution result in a table, click the Add table page corresponding icon on the toolbar. On the Table page, edit the page title and description. Select a robot on the drop-down list to configure its parameters. All of the parameters are listed below the robot. Click a parameter to define its fields for the table.
-
To see the execution result in a chart, click the Add chart page corresponding icon on the toolbar. On the Chart page, edit the page title and description. Select a robot on the drop-down list to configure the parameters to display on the chart. Select the following parameters:
-
Chart type
-
Color scheme
-
Label axis
-
Data axis
Additionally, configure other chart parameters.
Preview the chart image by clicking the
 Preview button.
-
-
-
Click Save to save the Template.
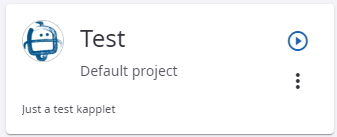
A template entity looks similar to the following.
Edit Templates
To edit or remove a template, click the
 Open context menu button.
Create and Edit Kapplets
Create Kapplets
Kapplets can be created by developers, administrators, and global administrators.
To create a Kapplet from a Template, perform the following steps:
-
Click the
 Create new Kapplet button on the Template.
-
The fields on the Create new Kapplet window inherit their values from the Template. Either edit them or proceed with saving the Kapplet. To save the Kapplet, click Save in the lower right corner of the window.
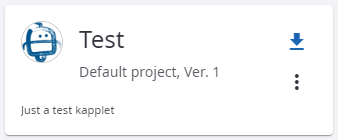
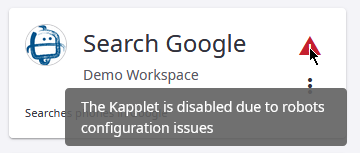
A Kapplet entity looks similar to the following.
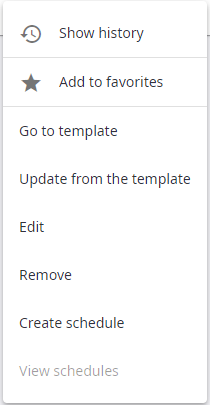
To perform more actions on the Kapplet, click the
Open context menu button.
Alternatively, when one or more Templates already exist, you can create a Kapplet on the Kapplets tab.
To create a new Kapplet on the Kapplets tab, perform the following steps:
-
Click the
Add button on the toolbar to open the
Create new Kapplet window.
-
In the Create new Kapplet window, configure the following information.
-
Name: Type the Kapplet name.
-
Template name: Select the Template from the drop-down list of available Templates.
-
Workspace: A workspace of the selected Template.
-
Description: Type a short description to add more information about the Kapplet.
-
Icon: Add an icon to make the Kapplet unique and easy to distinguish. By default the icon is inherited from the template. To change the icon, either select an image from the Gallery or upload a new one. Tag the uploaded image to make it easy to find among other images.
Important The image Gallery supports only .png and .jpeg files.
-
-
Click Save in the lower right corner of the window for the changes to take effect.
To enable the Kapplet, update the Template with a changed or removed robot and then update the Kapplet.
Edit Kapplets
To edit or remove a Kapplet, click the
Open context menu button.
Run Kapplets
To run a Kapplet, perform the following steps:
-
Click the
 Run Kapplet button on the Kapplet to open the
Start Page. On the
Start Page, configure the input parameters (if present) and click
Run in the lower right corner of the window.
Run Kapplet button on the Kapplet to open the
Start Page. On the
Start Page, configure the input parameters (if present) and click
Run in the lower right corner of the window.
After you click Run, the Management Console receives a request to run a robot and tries to start it. If necessary resources are available, such as licenses, RoboServer slots, and so on, the robot is started on the cluster specified for the selected project. If necessary resources are not available, the robot is put in a queue with a ten minutes timeout. If after ten minutes the resources are still not available, the robot is removed from the queue and an error message is logged.
-
After the Kapplet is executed, the History tab opens. See the execution information on the History tab.
View and Create Schedules
If a Kapplet has an assigned schedule, it shows on the Kapplet main box. In this case, you can click the
Open context menu button and select
View schedules to view the list of all existing schedules associated with the
Kapplet.
To create a new schedule for the Kapplet, select Create schedule from the context menu. See Schedules for more information.