Add users
This topic shows how to add a user for an OAuth application configured in Add applications.
-
Click the plus sign in the upper left corner.
A dialog box with several tabs appear.
-
On the
Select application and user name tab, select an application and specify a user name.
This user name does not need to match the user name used by the service provider. It is only used inside Management Console.
- Click Next.
-
On the
Authorize tab, click the Authorization Link.
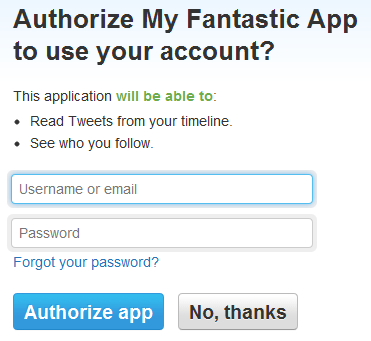
This opens the website of the service provider. At Twitter, it looks as follows:
-
Enter the user name and password and click
Authorize app.
The service provider now forwards you to the callback URL. If the authorization was successful, the Proceed with OAuth Authorization page appears.
-
Close the browser tab and return to the
Management Console. In the wizard, click
Next.
On the Retrieve access tokens tab, you will see the access tokens that can be used for accessing the service provider on behalf of the user. They have been securely stored in the Management Console keystore and can now be used as input to schedules.
Note You will need sample access tokens as test input for the robot that we will build in a later step. Copy the values into a text editor such as Notepad. For security reasons, you will not be able to retrieve them from the keystore in unencrypted form after clicking Finish.At Twitter, we get both an access token and an access token secret. Service providers that use OAuth 2.0 do not use an access token secret, so they will only return an access token. Some service providers will additionally return a refresh token. This is used when the access tokens returned by the service provider are only short-lived. Robots can then use the refresh token to obtain new access tokens without a user having to re-authorize through the Management Console. To create robots against the API of a service provider, you must copy all of the tokens displayed at the final step of the wizard.
-
Click
Finish.
The user entry appears in the OAuth section.